Friday, September 5, 2014

Making Doll Dresses

I've started making doll dresses again. I've missed making the miniature fashions for 18" dolls, and it feels good to be sewing them once again. What made me stop? I'm not entirely sure... I was selling them at a shop in downtown, but they changed their policies and stopped doing consignment. Maybe I got burned out. Maybe discouraged. My collections was finally starting to sell when the owner decided to stop selling them. 

But, as the country song puts it, I'm back in the saddle again. My doll dress hiatus is at an end, and I've hit the road running, so to speak. My scrap fabric collection is hitting critical mass, and it's time to ease the pressure. ;) 

Simplicity patterns recently came out with an adorable pattern for 1860's styles for 18" dolls. You can find the pattern here. As soon as I got home with the pattern, I cut it out and whipped out a dress. Maybe that's where I got the doll dress bug bite. 


 Next, I used the adorable pink butterfly fabric that I found while organizing my fabric stash. 

Then I used my trusty Regency dress pattern. I love how quickly it whips up. And the dresses never falter being cute. ;)  Once I finished the dress, I felt that it needed a little something extra. So I used part of the apron in the aforementioned Civil War pattern. No need to mind historical accuracy in this dress anyway. :P 


So, we'll see how many more I make before losing inspiration. Thankfully, Pinterest is always there to help in case of burn out. ;) 

Until next time!
SG

Monday, August 4, 2014

1800's British Uniform - Upgrade

Lady Catherine, the dress form, has once again graciously allowed me to put men's clothing on her. This time, it was for the 'upgraded' 1800's British Uniform

Remember this project?
It served its purpose well enough, but we (my brother and I) expected more from the basic red coat. It needed to something more. It needed... an upgrade.
(Sorry for the rather... geeky reference. It's all that I could think of. :P)
So to the dark corners of the interwebz I went. Do you know how hard it is to find resources and supplies for British military uniforms here in the States? But I found enough pictures, illustrations, and what-not to give me the information I needed. All of that turned into this:
Ta-da! Okay, it's not much, but it makes a difference, doesn't it? ;) 
All I did was:
- Add white piping to the front. Suddenly it became much more distinct. 
- Add piping and buttons to the back

- Extend the sleeves 3" by using the same black fabric as the collar (yay for fabric hoarding!)
- Add some gold couching to the cuff. Man, that is a beast of a project, but the results are very worth the effort.
- Add a stiff layer to behind the collar so that it doesn't flop over from the weight of the couching and buttons. You should have seen the looks on people as I worked on it in the lobby of the chiropractor's office. 'What are you making? That's something you don't see very day!' 
- Actually make button holes on... whatever that thing is called.The strappy dude that hold the other thing in place so that it doesn't slide down your shoulder. :P Part of me wants to call it a lapel.   
I will say, I'm rather excited with how it all turned out. ^_^ 

Here's my brother with one of the guests at the Civil War Ball that we attended. 

Until next time!
SG

Sunday, July 27, 2014

A Civil War Ball

I promise I haven't fallen off the face of the earth! I meant to post this closer to the actual event, but things have been going non-stop for the last several weeks. I'm just now able to sit down and actually attempt to put together enough cohesive thoughts to write up a post. :P 

Anyways. Enough with the excuses and apologies. 

I finally got to wear my blue 1850's day dress
The Civil War ball was held at the historic mill in Salem - the perfect location for our event. 
I could live in a house like this.

:cough:
You came to read about sewing projects didn't you? ;) 
Fine...
Here's some pictures from the evening.
I was demonstrating how to do the 'Harriet Smith' pose
When the theme for the ball was announced, I knew exactly what I was going to wear. Especially since I never had an excuse to pull it out of the costume closet. But would it still fit as nicely as it did before? I tried the dress on, and lo-and-behold, it fit like a glove. ^_^ Since when does something not need alterations? Thank you, Victorian undergarments, for keeping my measurements the same. :P 

Since it was a bit of a drive to the venue, I changed into my dress there. I didn't want a squished and wrinkled dress when I got to the party. And I can't seem to drive with hoops and a corset. They make things rather... difficult. Ladies never drove the carriage; they were always along for the ride. I understand that now.

The only issue that I ran into during the evening was my corset... it twisted in the middle of the Grand March. Made it rather difficult to breathe for the rest of the evening. Little did I know what the contraption was up to until later when I changed into my jeans and t-shirt. So THAT'S why things were hurting! But beyond that, the dress worked like a charm!

After looking through pictures though, I'm seeing that I need to make a ruffled petticoat to help with my 'lampshade' skirt. And a bum-roll to kick out the back and show off the angles of the jacket. :adds two more projects to the ever growing to-do list:


Just some porch sitting


And some pictures from the dance 


The lovely Katrina in her Scarlet O'Hara gown. Her sewing blog can be found here

This is my favorite picture from the ball. Part of the dance involves turning the lady under, and I loved how the skirts were all swooshing and twirling. Lots of pink dresses, too, I've noticed. ;) 
I've got some more pictures to show you later, but this will do for now. 

Until next time!
SG

Tuesday, June 17, 2014

Regency Poke Bonnet

In trying to complete the various ensembles that I have for different fashions eras, I've come the realization that I have a sore lacking of hats. And it's not like I don't wear hats! I don them quite frequently in my 'modern wardrobe.' The issue has been the lack of historical hats. So I've been keeping my eyes peeled for for deals on bonnets to add to my collection. 

Sarah, over at Romantic History, was selling some of her costuming pieces, so I swooped in and bought a Swiss dot cap and the Regency poke bonnet.  
Source
My family can testify to how excited I was when the package arrived. You couldn't get the bonnet off of my head. 
But it seemed rather simple, almost basic. Something inside of me was begging to dress it up just a bit. I heeded the tug, and bought some brown ribbon and trim to add to the hat. After I tacked them on, it was better, but still needed just a little bit more. I found a feather in my room left over from doing Rococo hair styles and tucked it into the ties. 
Better. Much better. But it still needed a little bit more. 
And then, after digging around in my boxes upon boxes of trims and ribbons and notion, I found a small cluster of flowers that had fallen off of my sewing box.
You heard me right - from my sewing box. 
When I was just getting started with all my sewing adventures, my mom bought me a sewing box that looked like a small hat box. Alack, alas... the flowers on the lid fell off shortly after bringing it home. But, being my craft-supply hoarding self, I kept the silly little flowers since I thought that they were pretty. Little did I know that they would someday end up on a Regency bonnet. :P  

The poke bonnet will be able to make its debut while I'm helping at the ECD Oregon table at a home school conference. Can't wait!

Until next time!
SG

Tuesday, June 10, 2014

Spot the Sleepy Puppy

Sorry that I haven't posted anything lately... Between getting a job and all the things going on 'round our farm, I haven't had a whole lot of time to dedicate to sewing... The sewing that I have been able to do has been in bits and pieces, making for slow progress on any project.

Anyways...

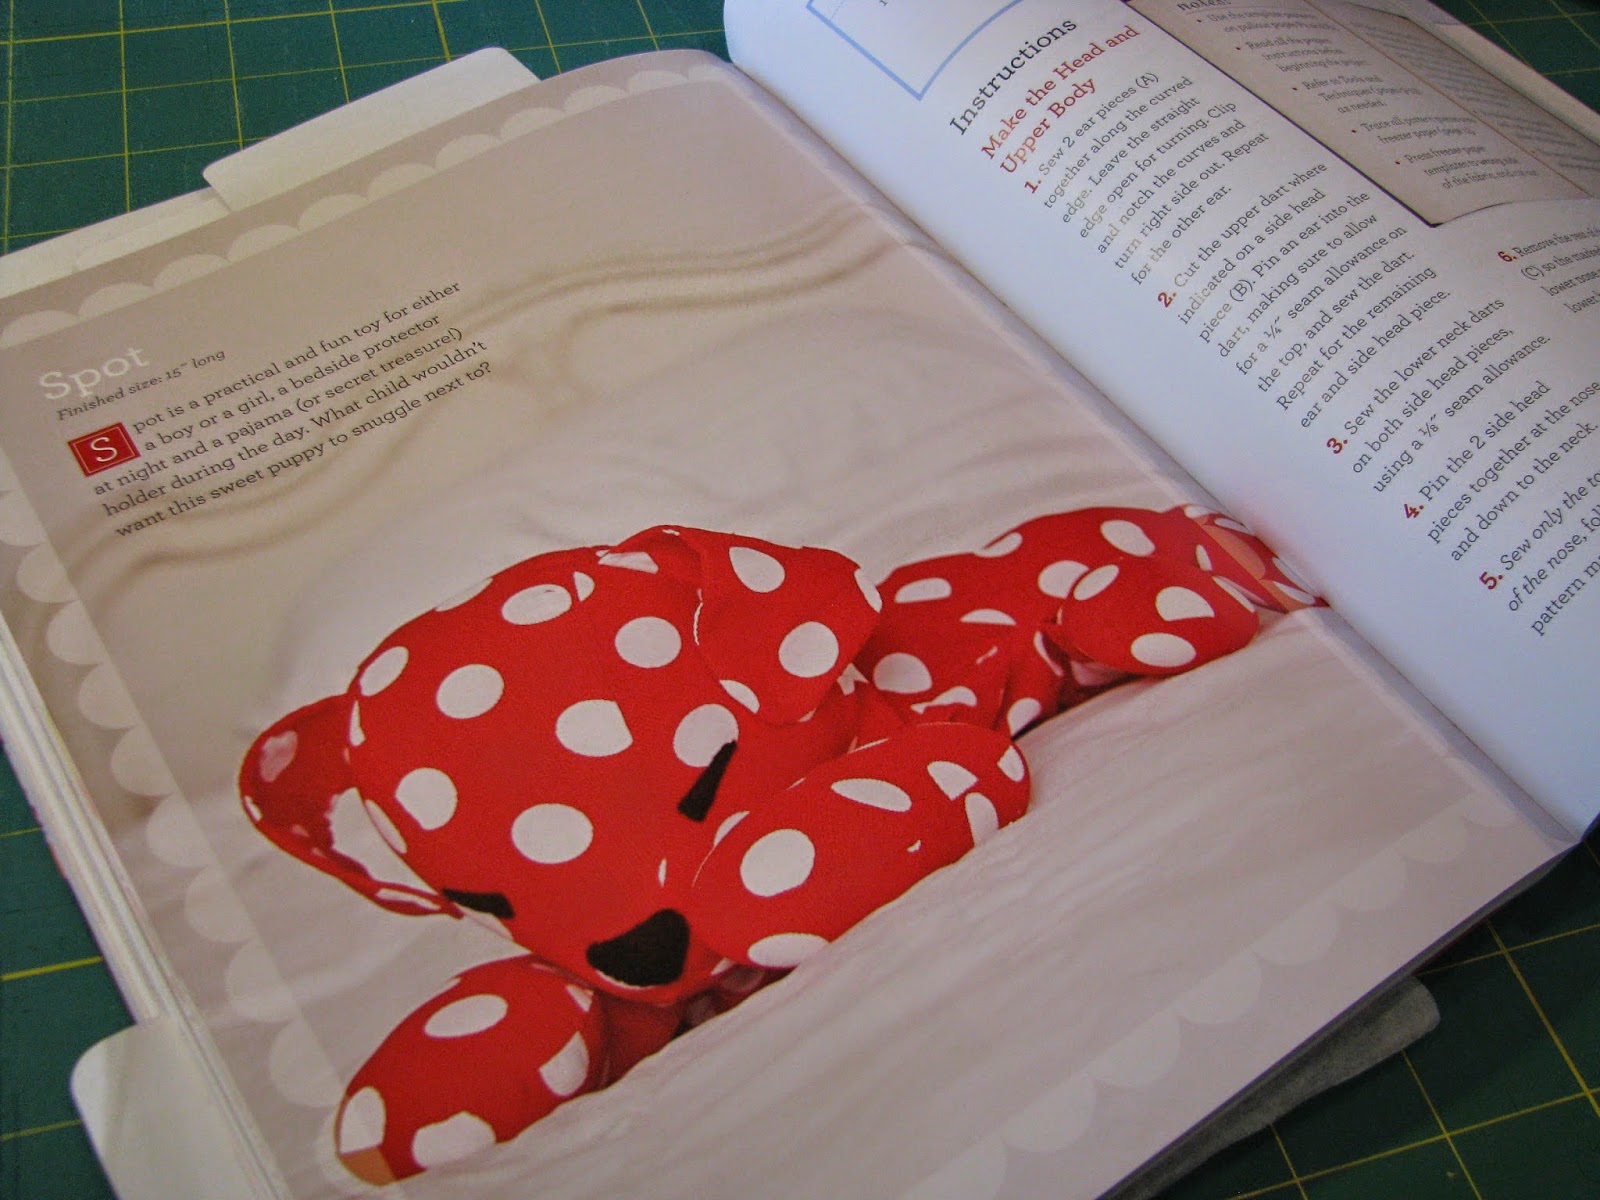
I found the most adorable sewing book at the library. And I truly mean the most adorable. Storybook Toys by Jill Hamor is certainly a book that every seamstress wants in her collection. Even if it is just for the world's cutest pictures. 
I loved the book so much that I put it on my Christmas/birthday wish-list. Lo-and-behold, it was under the tree. ;) But I haven't had an excuse to make one of the projects in it 'til now. 
A couple in our church just adopted a little boy. They've been waiting for a baby for two years, and now they have a little boy. I've been making quilts for all the babies lately, but I wanted to break my trend and try something different. Spot the puppy was the perfect thing to make for the little one. 

I even had all the supplies in my stash.  
I love having all my fabric on mini bolts. I can quickly scan everything to see if I have what I need before I made a mad dash to the craft store to get what I need. 

I transferred the patterns onto Swedish tracing paper (best gift EVER! I use that stuff all the time!) and cut out the pieces.  
As I was cutting out the fabric, I was really beginning to wonder, 'How on earth are these pieces going to make a dog?!' I trusted the directions and followed them to the letter. I wasn't disappointed; I had a sweet, lounging puppy when all was said and done. Actually, I didn't follow it to the letter exactly. (Big surprise there ;) ) The directions are for a pajama holder for your little one. I wanted a plushie, so I didn't put in the pocket inside the puppy's belly. I just stuffed him all the way and closed him up. 
I truly believe that faces are what make or break a doll or critter. Actually, I'm :really: picky about toy faces. One of my biggest pet-peeves is people who put weird or freaky faces on dolls. I guess of all pet-peeves, that's an okay one to have.  
With that all said, no pressure, right? I mean, how hard can a dog face be? Well, the face pieces weren't part of the pattern. ;) I took a deep breath and started to free-hand cut the felt into what sort of resembled what was in the book. After getting the eyes and nose cut and positioned on the face, it needed a little something extra. A spot around the eye was the perfect addition. 
G'night, Spot!

Until next time!
SG

Disclaimer: I haven't gotten anything for 'reviewing' the book. I just wanted to share it with you :) 

Saturday, April 26, 2014

Star Wars Quilt

I promise I'm still alive! I've holed myself up in my sewing room to finish a Star Wars baby quilt. I made a deadline for myself - it needed to be done by the baby shower. I hate showing up to a shower with just a bare-bones quilt top and taking it back home with me at the end. That needs to stop. I will not accept tardiness or procrastination from myself when it comes to sewing projects. You don't star a new project until the next one is finished. 

Okay, I'm done with my pep talk. 

The last stitch was sewn in the day before the baby shower. :fist pump:
I found all the patterns (for free!) at Fandom in Stitches. If there is a movie or TV show or book that has a fan club, they most likely have paper pieced quilt blocks to go with it. 

I had waaaaaaaaaaay too much fun making these. And, for the most part, they are all scraps or fabrics that I had in my stash! :double fist pump:

The process of paper piecing is easy. Sew seam, iron down, cut out next piece of fabric, sew seam, repeat. 

The one BIG snafu that I ran into was the issue of uneven tugging. Since the bias of each piece of fabric in the blocks goes every which way, there is a lot of shifting and pulling that they exert on each other. Hopefully, next time, I'll be able to avoid that by basting the edges of the blocks as soon as I finish them. 

For the sashing and borders, I found some really cool fabrics at the store - the silver is actually a gray with silver accents. Looks very Star Wars-y to me. The red is marbled with a darker red, so it adds more detail and interest there as well. 

Again, I cheated with the binding. I bought extra wide double fold bias tape instead of making my own. :shrugs:

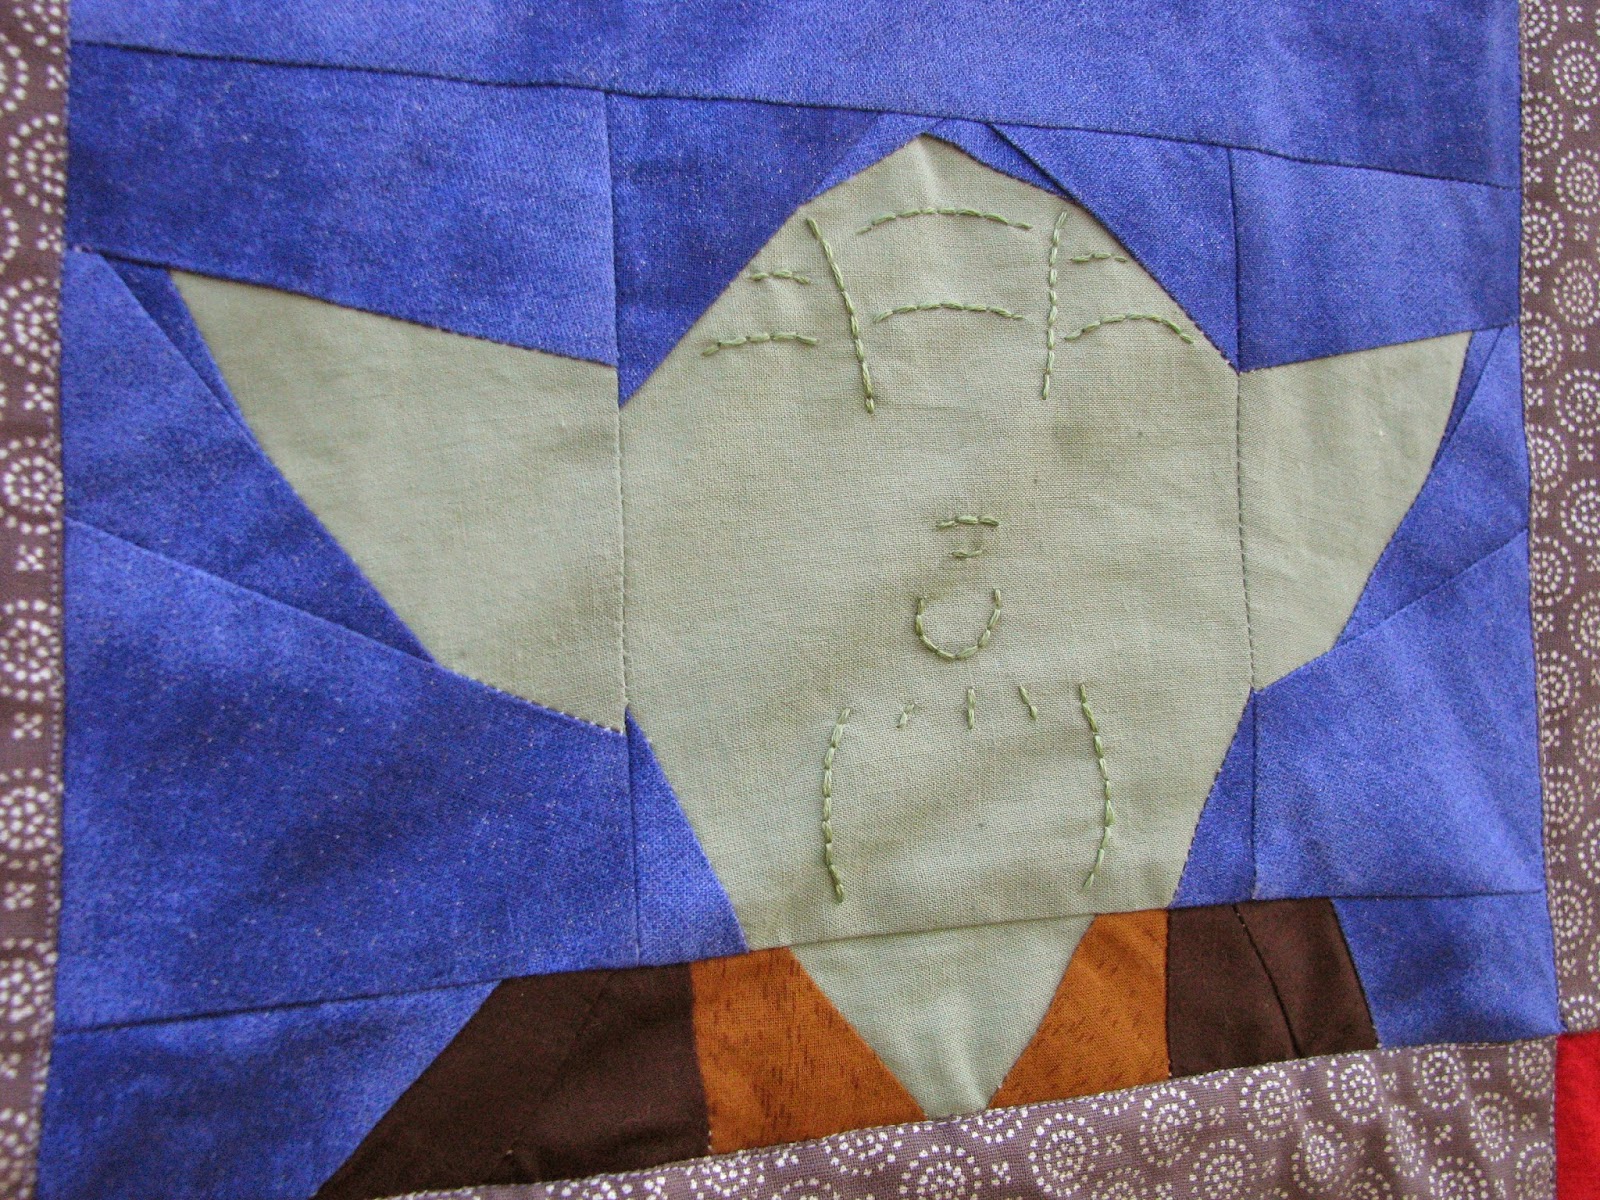
I really like the simplicity of the blocks without the faces, so I did minimal embroidery. Chewie got eyes. Otherwise he looked like a dog in need of a haircut. 

Yoda got his wrinkles. You can't be 900 years old and have silky smooth skin (unless you're a time lord, but that's a different fandom). 

R2D2 was probably the most time-consuming block since there are so many teeny-tiny pieces. I think he's my favorite though. ^_^

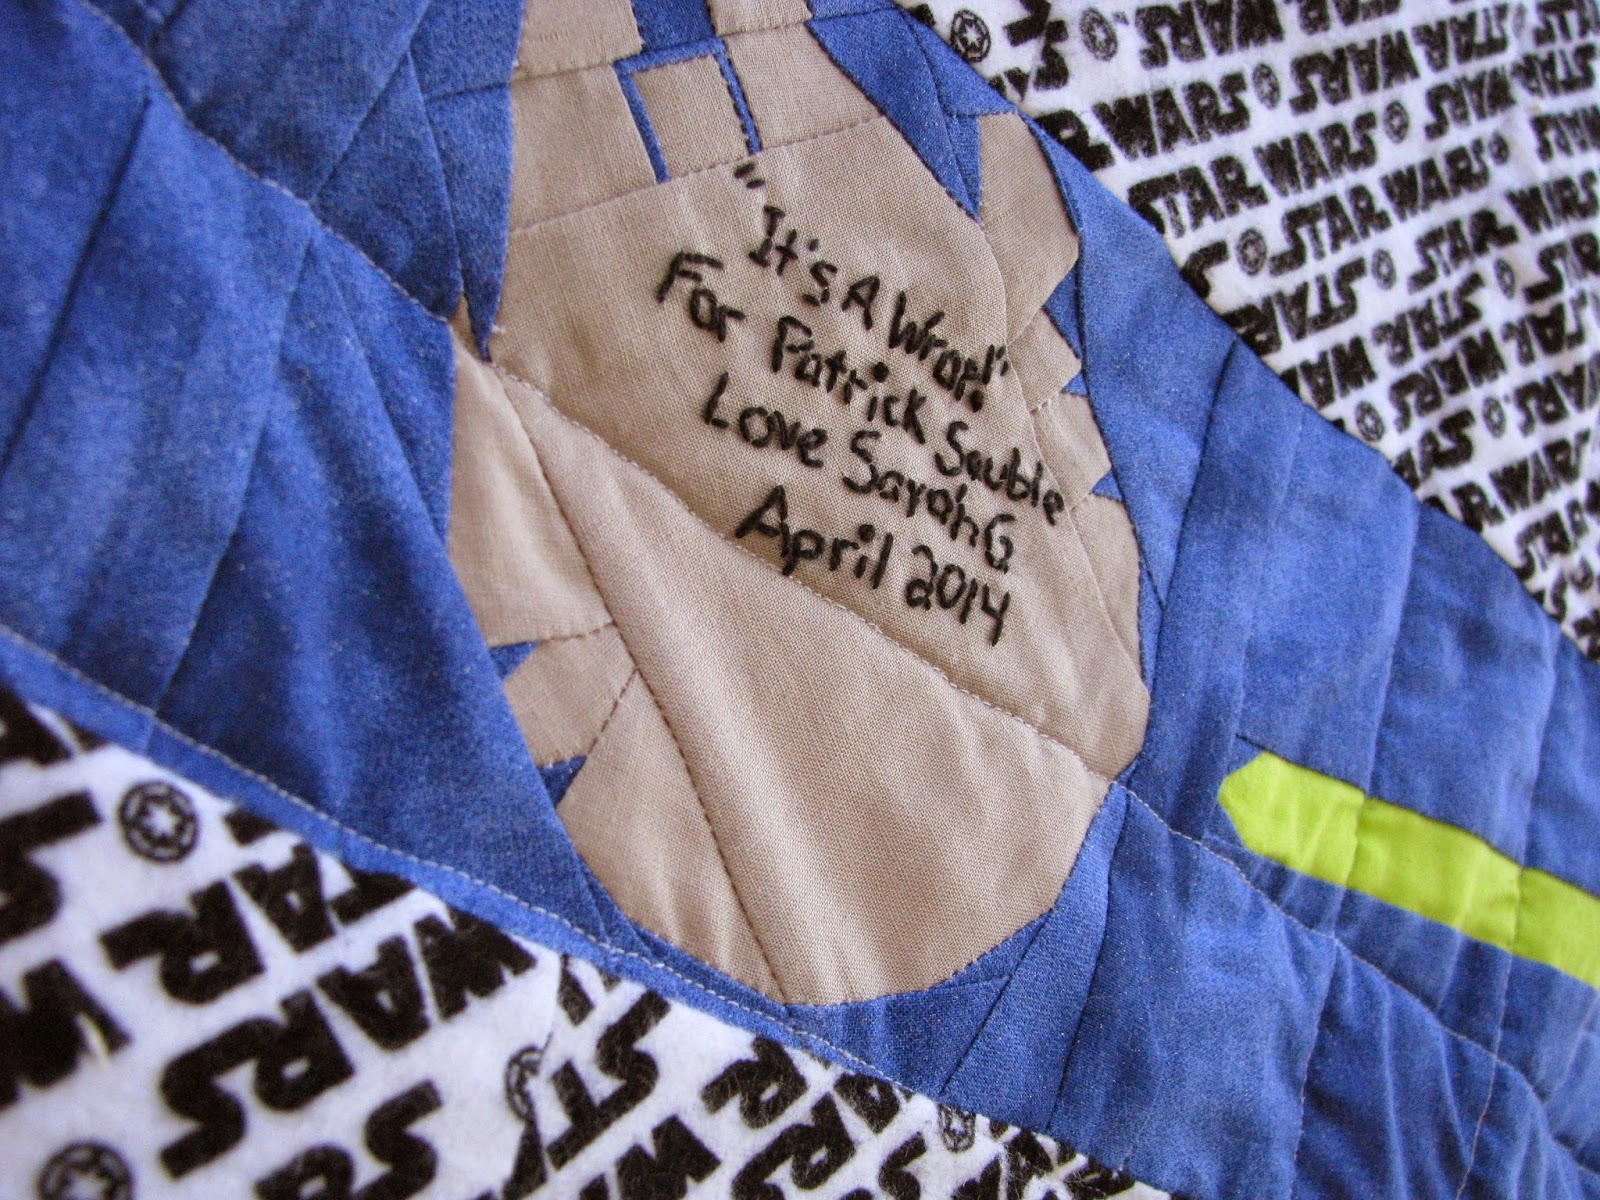
And you can't neglect the back of the quilt! I found some fun Star Wars flannel at the fabric store. Then I made the Millennium Falcon for the signature and name block and then offset it with light sabers. You can't have Star Wars without light sabers. 

After deliberating over what sort of catchy name I should give the quilt, I landed on a pun. 'It's a Wrap!' Please tell me you get that. ;) 

Well, I'm off to go work on my next sewing project!

Until next time!
SG

Tuesday, April 8, 2014

Frozen's Arendelle Flag

One other thing that I sewed up for the Kings and Queens Ball was the flag of Arendelle, the kingdom in Frozen. The decorating coordinator sent out a message to all the quests inviting them to make a crest, flag, or banner to decorate the gymnasium dance hall. It could be a real or fantasy; it didn't matter. It just needed to have something to do with royalty. I pondered and mulled things over until I landed on Arendelle's flag. Not sure where that came from, but that seems to be the way that most of my projects work. :shrugs: 
All the supplies are from my stash. Most were leftovers from other projects. 
The pattern is my own. No one seems to make big flags. ;)